
Anyone following this blog will know that I have been playing Age of Sigmar for a while now, and I’d like to think I achieved some measure of success in the game’s third edition. But with the release of Age of Sigmar 4th Ed its time to learn the new game and see it plays out. The first major tournament in southeast Queensland was Goldcon and I was lucky enough to get a ticket to it, so sit back, relax, and read on to hear my account about how I faired playing the new edition.
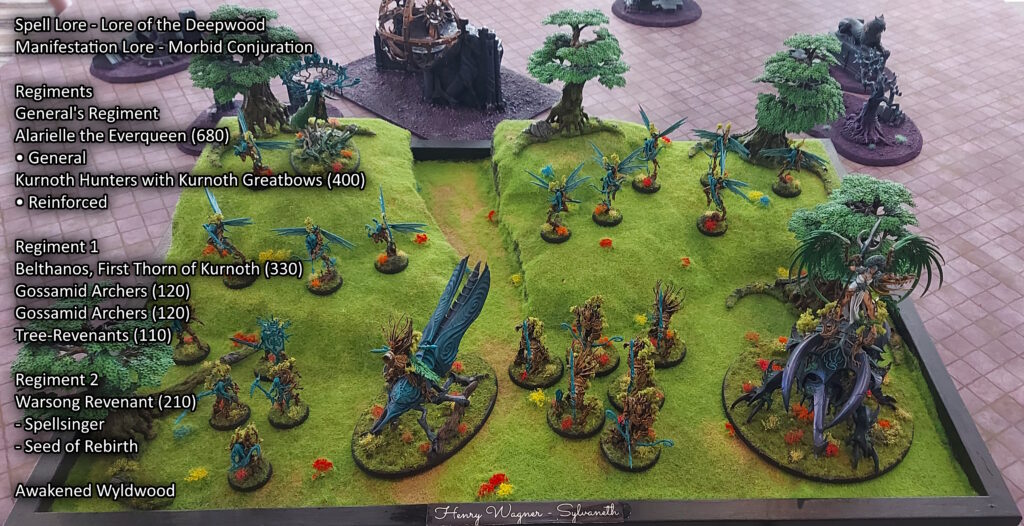
First up was my army. Now, I like to think of myself as a Seraphon player, I love them and always have, but with some chaos from the other aspects of my life, I wasn’t going to get the time to get some of the newer releases painted, so I fell back to my other main army, Sylvaneth. I played Sylvaneth extensively last year, and towards the end, put a decent amount of time into getting all my models painted up and ready for the new edition. This was a good idea, as the army has drastically changed between editions, so there has been a siginficant change up to which models I wanted to include. My list is below;
I had this list mostly ready to go, with just a bit more on the Gossamids to finish off, and I do really enjoy how the list plays. Alarielle and Belthanos are both hyper-mobile threats, and the Kurnoth Hunters bring some really solid shooting. Combined with a few smaller skirmishing units to screens and battle tactics, and with a Warsong Revenant giving some extra magicall punch, I feel like the list can perform well on most battle plans and matchups.
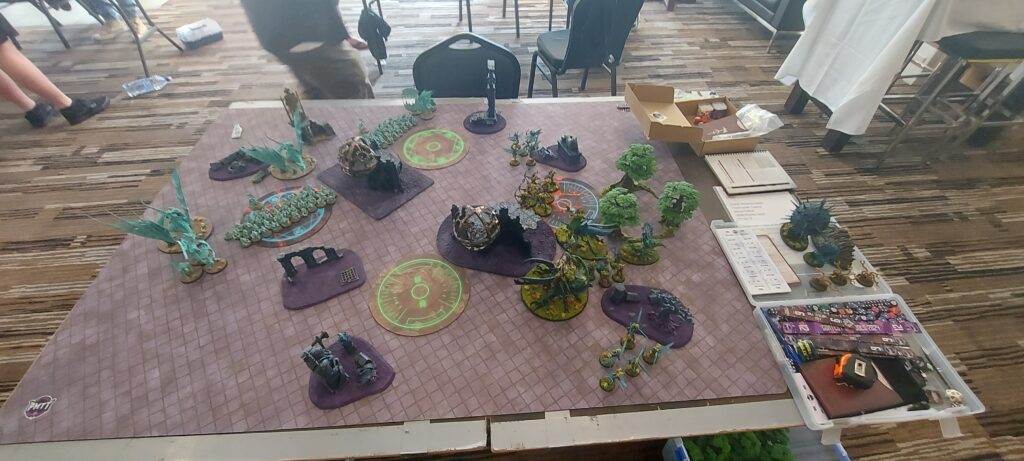
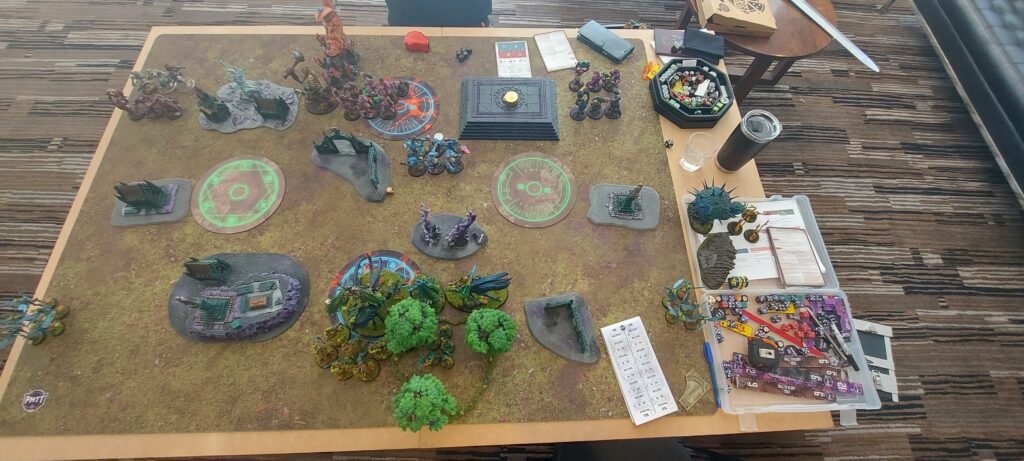
Round 1 – Scott with Flesh Eater Courts
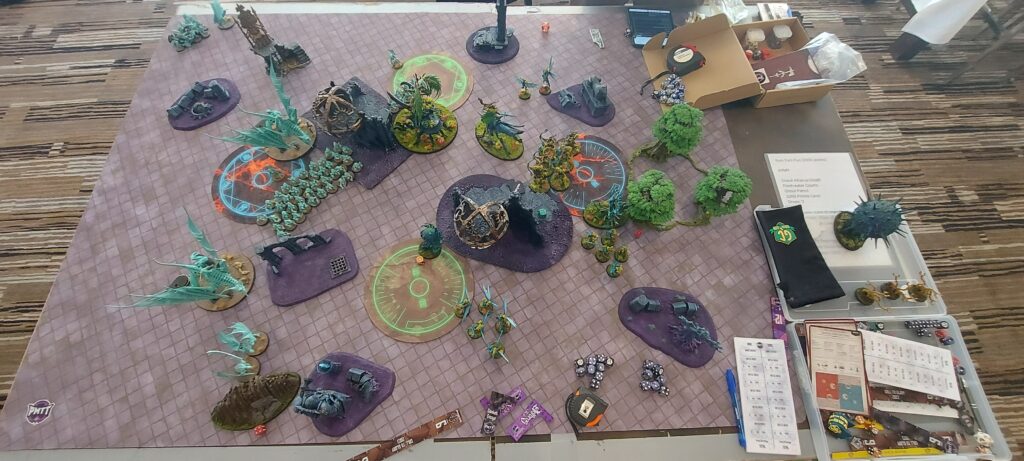
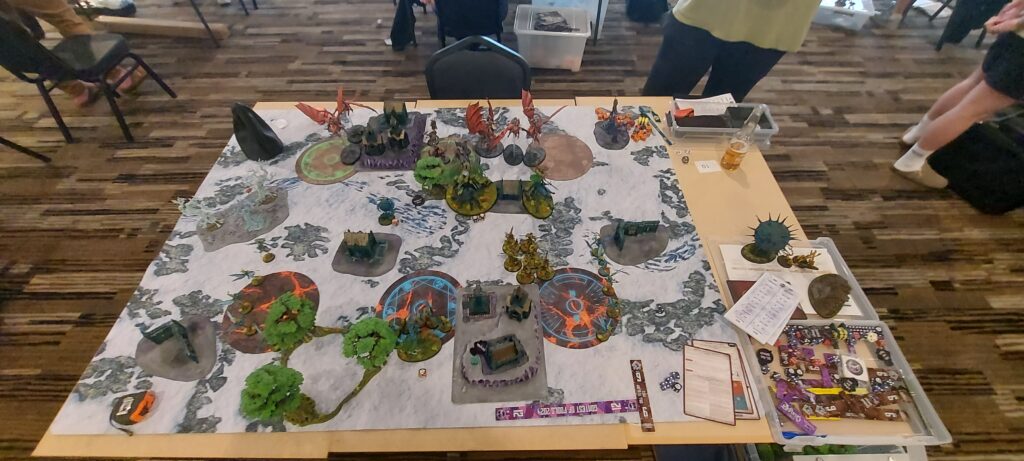
If there is one thing that the QLD meta has, it’s players named Scott. But, my experience so far has always been enjoyable playing any of the Scotts, and this game proved to be no different. He was running Flesh Eater Courts, with two massive blocks of ghouls, backed up by a couple of Terrorghiests, as well as a smattering of smaller heros. The ghoul block did frighten me a bit, as they could take a tremendous amount of punishment and still be a threat to any of the units. This game was Battle for the Pass and Scott took the first turn.
Scott chooses to attempt “Do Not Waver” as his battle tactic and moves up with his army. Some flayers drop down 9″ away from the Gossamids at the top, and the other flayers threaten the ones at the bottom. Unfortunately for Scott, the bottom flayers fail their charge, leaving just the flayers at the top going in, killing 3 Gossamid Archers.
I choose “Attack on Two Fronts”, planning on taking the uncontested objective at the bottom, and sending both Alarielle and Belthanos into the ghouls holding the top. After a smattering of spells, the Kurnoth Archers finished off the nearby flayers, and then my plan came crumbling down. Belthanos, depsite needing a 7, failed his charge, even with the reroll. Alarielle went in, hoping to spike and clear enough off, but some smart casualty removal from Scott meant that he kept the zone, and denied me the tactic. I did manage to get a long charge with the gravetide into the flayers at the bottom, killing one and pinning them down.
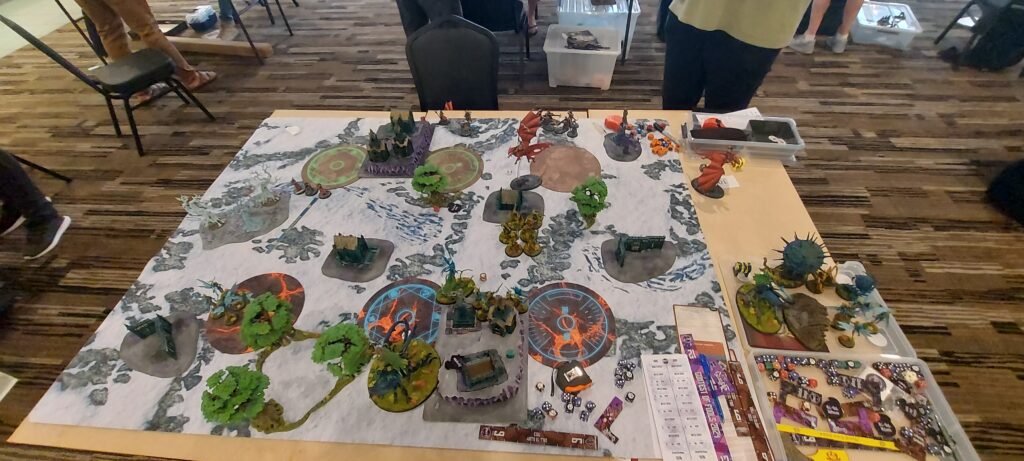
Round 2 started with Scott keeping the priority. He chose “Take Their Lands” and chose the big piece of terrain in the center, going for a big turn. After some unlucky dice with in the hero phase, that saw all his spells fail to cast, he moved up his ghouls, and both terrorghiests, very aggressively, ready to send all three into my lines. Unfortunately, his general up the top failed the charge, which left the ghouls going into Alarielle, and the other Terrorghiest going into the Maelstrom. The combat didn’t go great for Scott, whilst the Terrorghiest annihilated the Maelstrom, the ghouls failed to really dent Alarielle, who made up for last turn and finished enough off that Scott didn’t have the numbers left to take the terrain.
My turn two battle tactic was also “Take Their Lands” on the terrain at the back of Scott’s terrority.With a teleport from my Tree-Revenants, I was able to focus the rest of my army into whittling down Scotts. I focused on damaging the terrorghiest at the bottom with shooting, whilst Belthanos and Alarielle cleared out the remaining ghouls.
With only 30 minutes of so left, we agreed to quickly math out the next round. Scott kept the priority and used the terrorghiest at the bottom to wipe out the Gossamids for an easy “Marked for Death” battle tactics, but wasn’t able to bring Allarielle down with his general. I picked up an easy “Slay the Entourage” by focusing all of Alarielle’s attack into the remaining ghouls, and keeping his general alive until the last turn, when he was brought down with a volley of Kurnoth shots. I take it out, 23-14.
End of Game Thoughts
I always find the first game of the tournament sets the scene for it. And this one was great, Scott was a good opponent throughout the game, and even when his dice went spectacularly downhill, he still was smiling and was keen to continue. I thought my list played well, but definitely need to make sure I was always in a position to get a battle tactic, as dropping the first one was a worrying start.
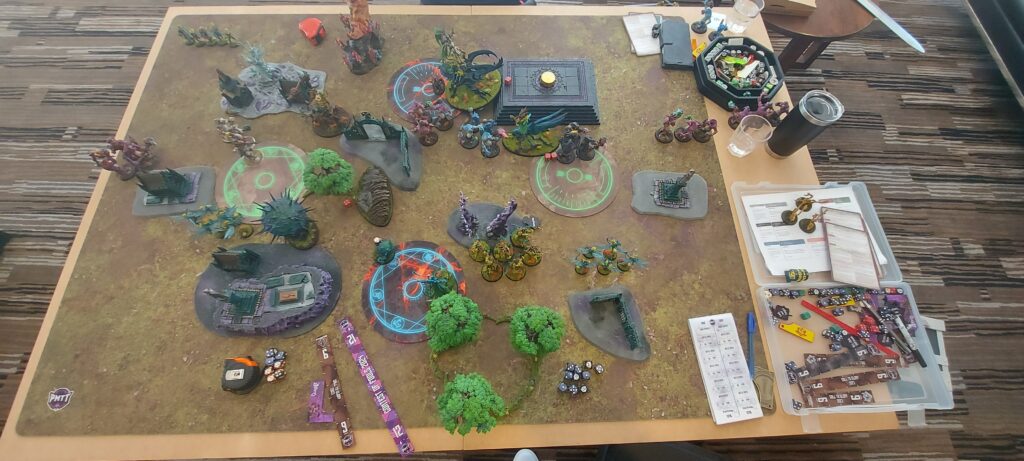
Round 2 – Nic with Stormcast Eternals
Last time I played Nick was last year at Goldcon. He was running Stormcast then, and I was playing Sylvaneth, so we were all set for the rematch! He had Ionus and 2 units of Stormdrake Guard, backed up with a big unit of Longstrikes, and then a couple of foot slogging heroes and units. I was very worried, as those Stormdrakes could be a huge problem, and the Longstrikes scared the bejessus out of me. This mission was “Better Part of Valour”, and after he out-dropped me, gave me the first turn.
Unfortunately I forgot to get a photo of deploment, but we had the bulk of out forces facing directly off against each other.
So going first, I had two ideas. I could either play aggressively and try and kill either a unit of Stormdrake or Ionus, or I could spread out, get some chip damage in, and see where Nick commits. I always like to control the tempo of the gave, so decided to go all in, and try to kill Ionus top of one. After a short hero phase, the Kurnoth Hunter teleported up to threaten both Ionus, and a unit of Stormdrake Guard (denying Nick the easy redeploy to keep something safe), and moved both Alarielle and Belthanos basically into his face. After the Kurnoth put 6 damage on Ionus, I charged with both Alarielle and Belthanos and crashed into his front lines, pinning both his little Heroes, some Liberators, Ionus, and the Stormdrake Guard. Alarielle wiped the Liberators with her rampage, but unfortunately Belthanos was unable to get the sneaky teleport to threaten Nick’s foot heroes. So everything was going to plan, then I started rolling dice…. Despite putting both Alarielle and Belthanos in the dragon-riding priest, he survived, and to make matters worse, Belthanos died to the combined strike back. And with my tunnel vision of killing Ionus, I completely forgot to score my battle tactic of “Take the Flanks”. Whoops. So not a great turn to start with, but hopefully I will be able to survive and pull it out in the long run.
Nick decides to go for “Do Not Waver” as he has two units against Alarielle, and plans to bring in a third, so getting a few good hits in should be easy. Unfortunately, as he only really has a single target, he had to play very carefully to not overkill her and leave a unit without a target. He brings down the Longstrikes, who put about 8 damage on her, and then sets up for combat. Bringing in another unit of Stormdrake guard, who triggered their fight first, he fights with them and then the others, and leaves Alarielle on about 3 health. But diaster strikes, when Alarielle, sick of being the punching bag, smashes Ionus down and stops his battle tactic, despite all of Nick’s careful planning. At the end of the turn, Alarielle, who managed to pile in towards a tree, gets a sneaky teleport out of there to save her bacon.
I kept priority into two turn, and figured I really needed to get ahead on attrition. I chose “Take Their Lands” for the battle tactic, as I could confidently get that without any issues, and focus all my efforts in killing some dragons. And kill some dragons I did! Between a few spells and the Kurnoths I killed a dragon in the one unit. Alarielle then charged in, and spiked the dice to finish off other unit, doing the full 18 damage she needed to wipe them out. Then with a quick Strike and Fade, bailed out to back to avoid giving Nick and easy kill.
Nick is a under the pump now, and he decides for a “Slay the Entourage” tactic targetting the Kurnoth. Hoping to spike like Alarielle did last turn, he puts everything into them, but alas fails the charge and leaves several still standing.
Nick decides to call it there, as he doesn’t really have the models left to contest the game properly. We tally up the scores, mathing out the final turns, and I claim the win, 44-14.
End of Game Thoughts
This definitely was a close one, a lot closer than the score would lead people to believe. When I failed to kill Ionus on my first turn, I distinctly thought that I had just thrown the game away! But dice being dice, swung hard both ways and we ended up with a very swingy game. It would’ve only taken a few key rolls to go the opposite way and the score could very easily be reversed.
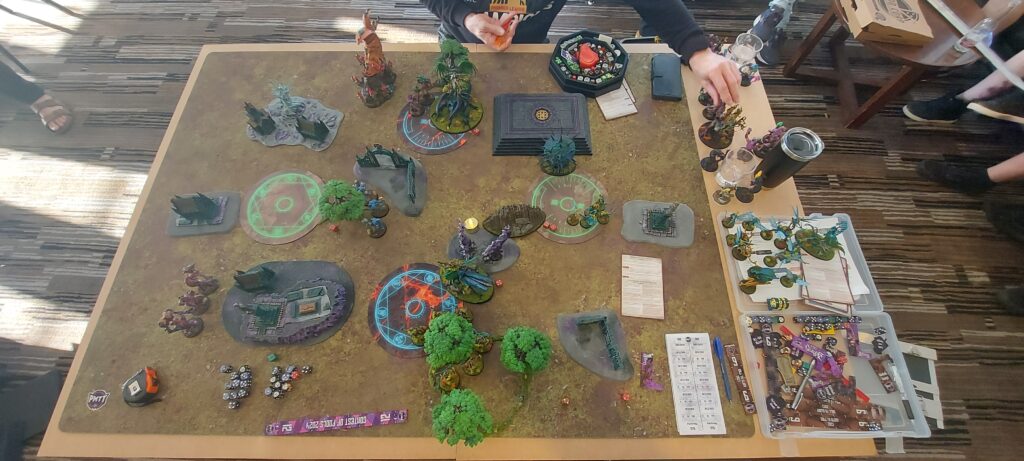
Round 3 – Zac with Maggotkin of Nurgle
Another brand new opponent which is awesome. I’ve watched Zac play several times at my various events, and knew that he was not to be taken lightly. That, and his absolute brick of list, I went in knowing that I needed to play well, and really leverage my strengths, if I was going to come out on top. This round was “The Vice”, and Zac’s list had a stack of Blightkings, backed up by Orghotts, a Lord of Blights, Horticlus with Beasts, and some plaguebearers to round it. If he still had a decent sized force in turns four and five, I would be in trouble, so this game was going to be aggressive.
I took the first turn, thinking that I needed to start getting some damage dealt, and went for “Seize the Center”. I got some endless spells out, shuffled around a bit, and dropped a couple of Blight Kings with the Kurnoth shooting. Mostly this turn was just getting into position and preparing for a big turn two. The key moves were the Warsong moving up to threaten board position with his -1 to ward rolls, and Belthanos moving in front of the Kurnoth to make Zac think twice about engaging them.
Zac chose “Seize the Centre” as well, and started his counterattack. Unfortunately, his dice let him down with a couple of key run rolls (needing 2’s), which left not only his big unit of Blight Kings out of position, but in an effort to still score the tactic, he had to commit his characters further up than he was going to. This let to further issues, as it meant the Lord of Blights was the closest model to the Kurnoths, and was slain until a brutal covering fire. The rest of his army shambled up, but his poor run rolls continued and he wasn’t able to achieve much.
I kept priority going into turn two, and decided on a “Do No Waver” for my battle tactic. After getting out some more spells, I moved forward, with both Alarielle threatening Zac’s right objective, and Belthanos, and the manifestions moving up really threaten the centre. The Kurnoth eyed off Orghotts and shot him for a ton of damage, whilst Alarielle tagged Horticulus with her spear, then eyed him off for the charge. She failed to roll high enough to get into him, but still got into the nearby Blight Kings, whilst some manifestations were sent into the centre unit. The gravetide did some work, slaying a single Blight King, whilst Alarielle halved the unit she was fighting, and powered through to capture the objective.
Zac was ready to counter, and chose “Take the Flanks”, having his two Beasts of Nurgle already in position. After a little healing on Orghotts, I snuck through a magical intervention to get out a sneaky Shackles. With a spike on the dice, I managed to kill Horticulus, damage Orghotts again, and reduce the Blight Kings to move 1. Orghotts moved back to threaten my queen, whilst the the Blight Kings slowly shuffled forward, hoping for the charge on Belthanos. The Blight Kings lost some more bodies to Kurnoth shooting, before both Orghotts and the Blight Kings made their charges, but whilst Orghotts managed to slay the queen, several more Blight Kings were brought down by Belthanos.
I kept priority again, going for “Slay the Entourage” and targetting the Blight Kings in combat. Through some magic, shooting and Belthanos they were wiped out with attacks to spare. Meanwhile the Kurnoth and Gossamids kept up the volume of fire, killing off another model in the other unit of Blight Kings, and whittling down the Plague Bearers. All this happened whilst Orghotts was slain by the Shackles, having not made a big enough charge to get away from them.
Zac chose “Do Not Waver” for his tactic, and brought in both the Beasts of Nurgle. Unfortunately they both failed their charges, but the remaining two Blight Kings struck at a tree, whilst the sorceror attack the shackles to score his tactic.
At this point we decided to play out one more turn then call it, as Zac was drastically down on attrition, and didn’t really have the models left to take the centre. It got worse when Alarielle came back alive, and then made the long charge to get into the remaining Plaguebearers, and with some help from the Sun, wiped them out. We calculated the scores, shook hands, and called it. Another win, 48-18
End of Game Thoughts
This one was a tough one, Zac stacking the centre with his tankiest units meant that I had a real problem that I had to focus early. Fortunately the dice were in my favour, and some lucky (definitely luck) positioning meant I was able to snipe out his heroes early, otherwise those Blightkings would’ve taken a lot more work to kill, and done a lot more damage back. After the game we agreed that this was an incredibly rough matchup for Zac, as my healing and mobility negate a lot of his list’s power, and stopped him from just locking me down for a grind.
Round 4 – Brad and Gloomspite Gitz
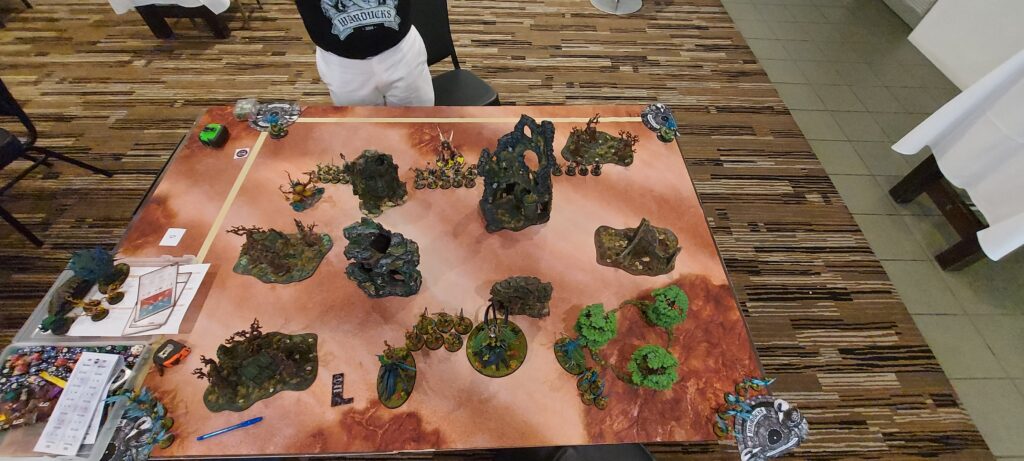
So despite regaling my mates with tales of how Sylvaneth are trash at lunch on Saturday (not actually trash, just a very different playstyle to learn), and their accompanying trash talk back at the end of day onne (oooo sylvaneth are trash, oooo i’m undefeated, ooooo so bad), I managed to go into day two a bit hopeful of an undefeated run. But standing in that way was Brad. Brad is an experienced player and well known for his mastery of Troggs, but I was keen to find out whether they still had the same teeth that they used to. The mission was “Jaws of Gallet”, and after deployment, Brad elected to go first. He had Skragrott, the Gobbapalooza, some Bounders, Trugg, and a stack of Rockgut Troggs.
Brad chose “Take the Flanks” as his battle tactic and then his fungoid shaman immediately kicked the wrong rock on the place of power and took a stack of mortals. Brad spread out his army, with the topmost Bounders coming straight at me, whilst the rest of his force took the nearby points. Unfortunately, in his vigor to take the objectives and bring the fight to me, he forgot about his battle tactic just after he finished his movement phase. Unfortunately for me, Brad then decided, that in for a penny, to commit early with his Bounders, and got the topmost ones making into the Kurnoth. After killing a Kurnoth Hunter, I fought back and left two standing, but most importantly they were tying up the Kurnoths well.
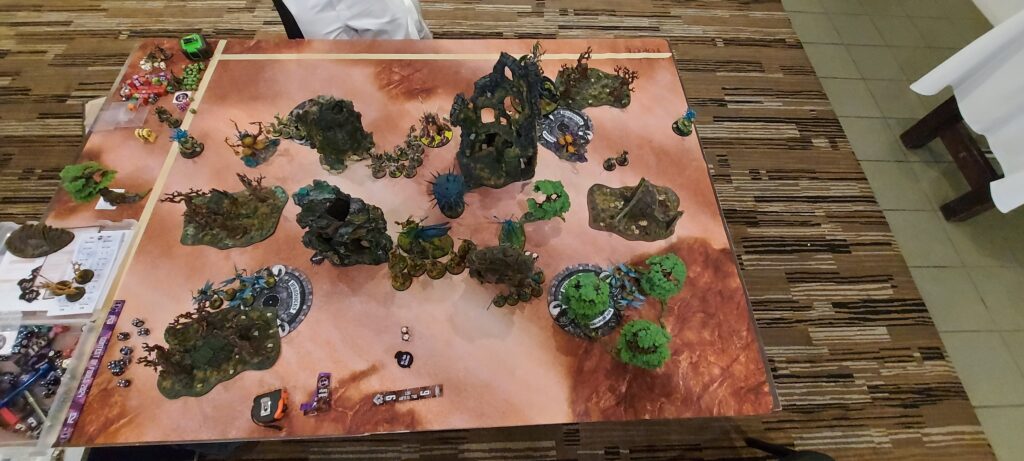
I started my turn by choosing “Seize the centre” (which I had planned to throw to stop Brad getting the underdog bonus), but hopefully I was going to bait some CP’s out early. My first priority was to free up the Kurnoth, but despite putting most of my spells into them, I couldn’t manage to kill them off. Alarielle and Belthanos then moved up to threaten the centre and Brad’s wizards, with Belthanos making a big charge into the Shaman, Gobbapalooza, and Skragrot. His rampage then killing the Shaman, but my luck ended there, and Skragrott lived on two health, even thought I put all the attacks into him. Despite his hiccup, I scored the three zones to tie the score.
Brad kept priority and then started the with a conundrum. Could he figure a way for Skragrott to get out of the way, to allow Trugg to get to Belthanos? After an indepth discussion, we determined that Trugg was going to need a big charge to get round, or Skragrott would need to either teleport out, or retreat. Brad chose “Seize the Center” for his tactic, and we started the turn in ernest. First up was the teleport, which promptly failed, so the best option was out. After umming and ahhing about the retreat, Brad decided that it was needed, but unluckily failed the two ward saves, and Skragrott died. But he did clear the way for Trugg to get in, who made the now much shorter charge, and wrecked Belthanos. Meanwhile, a unit of Rockguts and the remaining Bounders moved up to take the center, scoring the tactic for Brad.
My turn was started with me choosing “Take their Land”, figuring that Brad’s only option was a teleport, which would leave him very light on CP. Brad took full advantage of this oppotunity and teleported Trugg back to completely stop the tactic. But this left a small opening for me to deal with the big unit of Rockguts in the center. After shuffling everything around, I managed to get the Kurnoth’s shooting, and then Alarielle and the sun charging in, to leave only a single Trogg left standing.

Going into turn 3, Brad kept the priority and chose “Do Not Waver” for his battle tactic. Through some thoughtful play, Brad setup to get the Dankhold punching on the gravetide, a unit of Rockuts charging into some Gossamids, and both the Bounders and the remaning Trogg in the centre out of dodge. He was especially careful, as I still had the CP left to do a covering fire, but expertly placed his models and denied me the easy target to stop his battle tactic. After making both the charges he needed, I counter-charged with Alarielle to bring the lone Trogg into combat, hoping to skate through and get the sneaky kill needed. Unfortunately, Alarielle failed to kill the single Trogg, and she was slain in return. But the charge and subsequent pile-in’s had brough the Trogg into range of the Gravetide, and it managed to do the final wound to bring it down and stop the tactic.
We were running out of time at this point, so I needed to play fast to finish off the turn. I chose “Slay the Tyrants” and hoped that I had enough oomph left in the tank. I threw everything left into the Dankhold, but left him alive on 2 health, meaning I failed the tactic and subsequently lost the game, 18-22.
End of Game Thoughts
A bit dissappointed about this one, as I think I might have been able to come back if we had more time. Alarielle came back in my turn three, but we didn’t bother doing anything with her as it wouldn’t have effected the score that turn. Also being pushed for time meant I didn’t think about battle tactics properly and there was definitely a better one that would’ve been easier to pull off. O well, live and learn. I definitely need to get better at piling units into 6″ of woods, as I am still used to the 9″ from 3rd ed. If I had done so a couple of times in this game, things might have been easier at the end. But always good to learn from a loss, and improve for next time.
Round 5 – Ryan with Gloomspite Gitz
Into the final round and again I’m up against a Trogg list, this time being piloted by Ryan. His list was Skragrott, Trugg, and then Rockguts, lots and lots of Rockguts. All his units were painted in different colours, to allow for easy identification during the game, but I think I apolgised to him about a dozen times for loudly stated “I’ll shoot the pink unit” whilst clearly pointing to the blue unit (the two days were definitely getting to me). But he was a great opponent and a great way to round of the event. The final mission was Border War.
Ryan out dropped me and elected to go first, hoping to get up the board a bit before I was properly able to leverage my shooting and mobility. He chose “Seize the Centre” as his battle tactic, and moved up his two big units to hold it. Elsewhere, his others units moved up to threaten and start pushing onto the objectives.
My first turn started with selecting “Attack on Two Fronts” with the plan to kill Skragrott to give me complete magical dominance. After get out another wyldwood and some manifestations, Alarielle and Belthanos both moved up to crash into the right hand Trogg units. The Kurnoth moved up aswell, and peppered the big pink Trogg unit dropping two of them. Unfortunately the Gossamids on my left flank only rolled a one for their zephyrsprites, so failed to get onto that objective. No matter, that just means that Belthanos really needs to get his rampage off. But then he failed that as well. Okay, so plan c, Alarielle can power through to get onto the objective and so after a quick combat phase, that is exactly what she did, getting onto Ryan’s home objective, whilst Belthanos held the right hand one.
I actually won the priority roll going into turn 2, and decided to take the double. I was ahead on points, so I felt that getting a big attrition advantage would see me setup for the win. So instead of messing around with points, I focused all my units into just killing. Alarielle dropped Skragrott in combat, a combined turn of Belthanos and Kurnoth shooting dropped more Troggs on right, and even the gravetide got in to finish off the unit. At the end of my double turn, I’d killed off both big units (bar a single remaining Trogg) and Skragrott to really hold the right hand flank.
Ryan’s second turn began with the tactic “Take the Flanks”, with two unit he had there from last turn, this was an easy choice for him, and then he turned his attention towards the centre. Bringing Trugg over to deal with Alarielle, he unfortunately got bogged down with all the manifestations I had there. The two other units of Rockguts, that weren’t involved with the battle tactic, both got work down, completely taking the left objective, and the other unit killed off Belthanos.
Ryan stole the priority back for turn 3, and figured he need to get back up on attrition by taking the double. Trugg cleared out the manifestations surrounding him, whilst the left flank of Troggs pushed up to deal with the Gossamids and Warsong Revenant that were exposed. The Warsong survived, but the Gossamids went down in a flurry of blows from the Rockguts.
My turn three battle tactic was a sneaky “Take Their Lands”, as with Alarielle huge base, she could easily get into the Troggs holding the nearby objective, whilst also holding the terrain feature. To back her up, I teleported my Tree Revenants there as well, and cleared out the Troggs whilst scoring all the objectives I needed.
Ryan’s turn 4 started with him selecting “Take their Lands”, and capped it with a unit of Troggs that had spent the entire game runnig forwards. Meanwhile, the warsong revenant was a still exposed, and with Ryan’s growing annoyance with the -1 to ward save aura, he decided that the Warsong was going to die this turn. Sending in Trugg to finish him off, he held the centre of the table, ready to threaten my home objective.
Relising we only had about 20 minutes left, we quickly worked out my next turn. Once again I went for a last ditch “Slay the Tyrants” with the Kurnoth shooting and then Belthanos finishing off Trugg. Combined with Alarielle still floating around to cap objectives, it was a brutally fast 10 point turn for me to win the game, 33-26.
End of Game Thoughts
This game against Troggs went alot better, I wasn’t too sure whether taking the double early was the right play, but I just wanted to remove Skragrott so I could get all my casting out unopposed. Hindsight, scoring another 10 points might have been a better move, but either way, I think the oppotunistic double turn are going to be some of the big swings in Age of Sigmar 4th ed.
End of Tournament Results and Thoughts
So I ended up finishing with a 4-1 result, which scored me 8th overall. A good result and a solid showing, especially this early in the edition. I felt like the list performed well, it’s got it’s strengths which I need to leverage, but it’s not drastically overpowered. I definitely feel like it is a high-skill list, as there were multiple times that I made small mistakes that came back to cost me dearly.
Overall, a really good event, happy with how I played, and already keen for the next one!
Until Next Time,
Henry